In this article we present an Android and Windows Desktop app written on the Uno Platform. The app allows you to
- pick whatever image – but preferably one with a glass of beer in it,
- calculate the average color of the image’s pixels,
- find the nearest official beer color to that image, and
- visually validate the result with a slider.
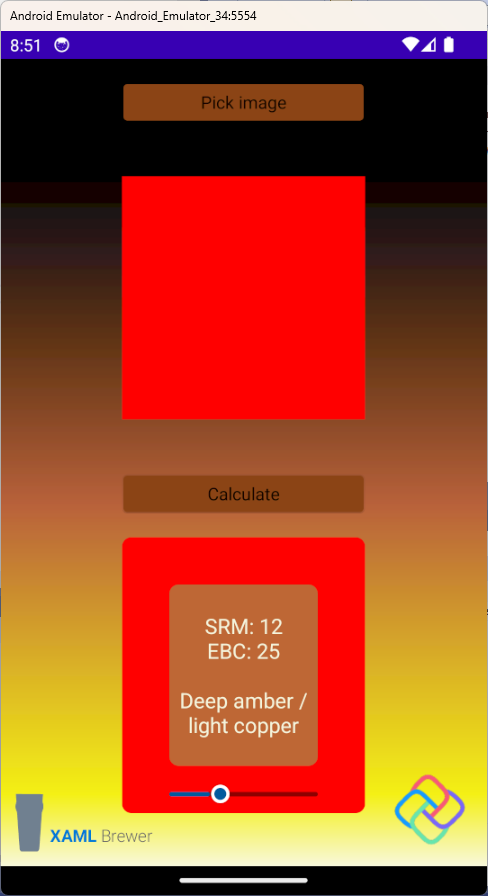
The app is appropriately called Beer Color Meter and it looks like this on my old phone:
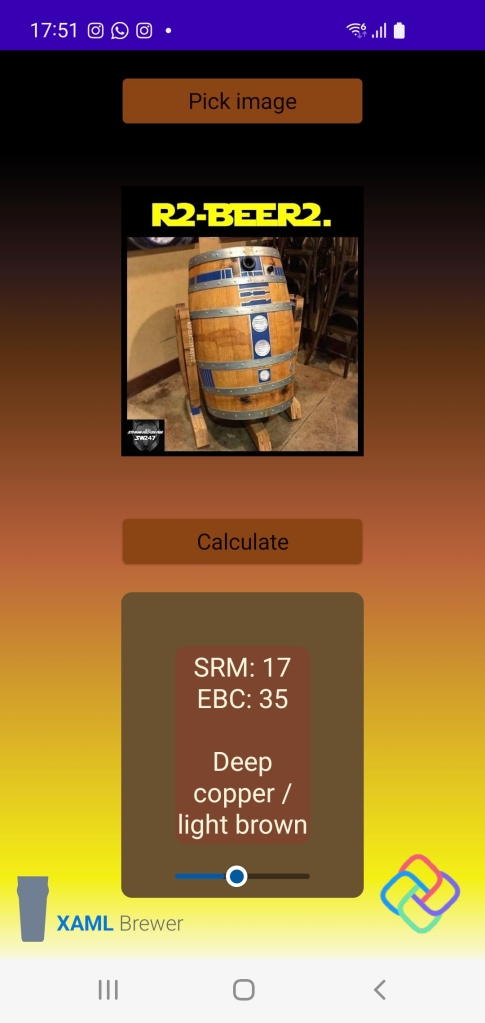
Don’t worry if you have a déjà-vu when reading this: the app is a cross-platform version of the WinUI app from our previous blog post. We’re porting the source this native Windows app to several cross-platform, XAML-based development ecosystems. Our first choice is Uno Platform, because it uses WinUI for its user interface and we have some experience in that area.
Beer Color Meter’s concepts, Model, and Data Access Layer are identical to the WinUI version. If Windows Community’s Toolkit ImageCropper would be Uno-compatible, then even the View could have been entirely reused.
Getting started with Uno Platform
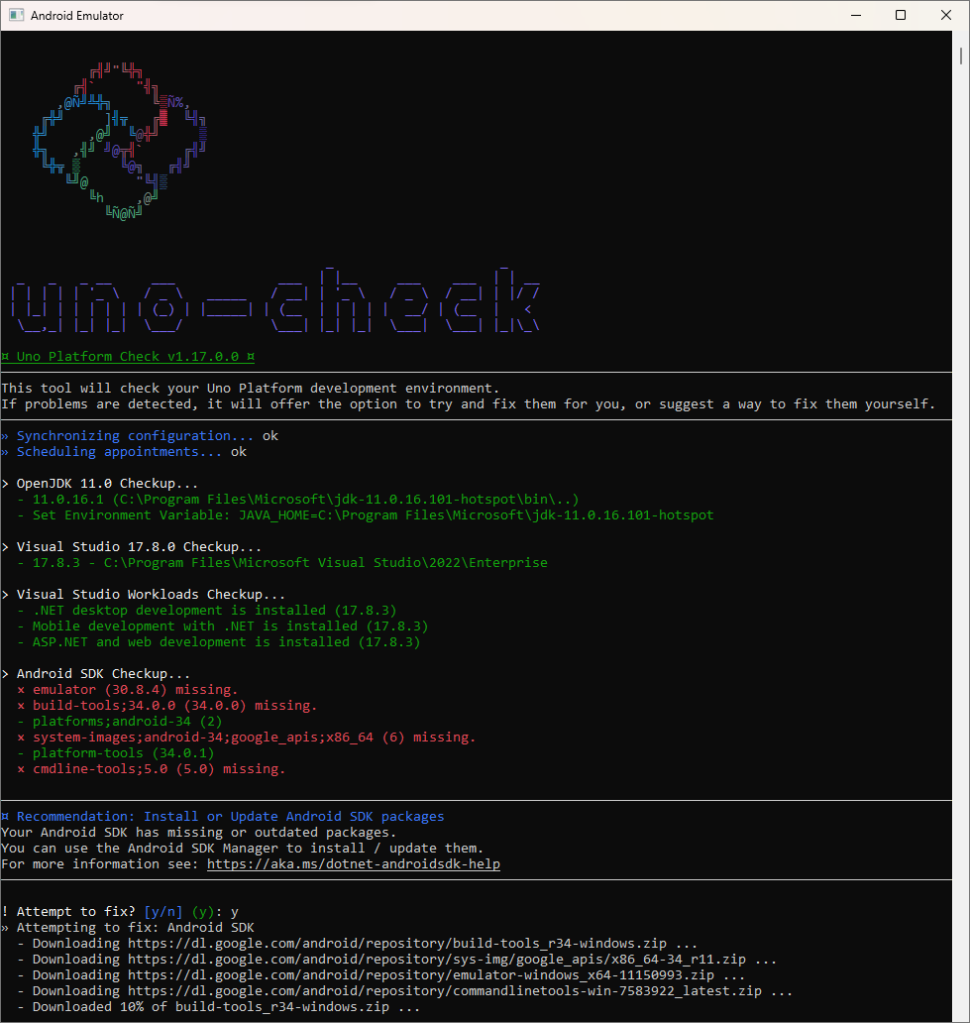
This is our first project with Uno Platform, allow us to explain how we got started. The procedure to install Uno Platform on your development machine is very well documented right here:
- Ensure that you have Visual Studio with the necessary workloads.
- Run the (magnificent) Uno Check Tool to help you configure your machine.
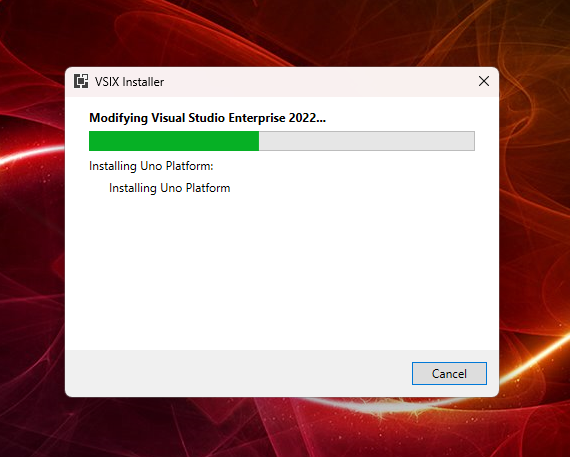
- Install the Uno Platform VSIX extension to get the project templates.
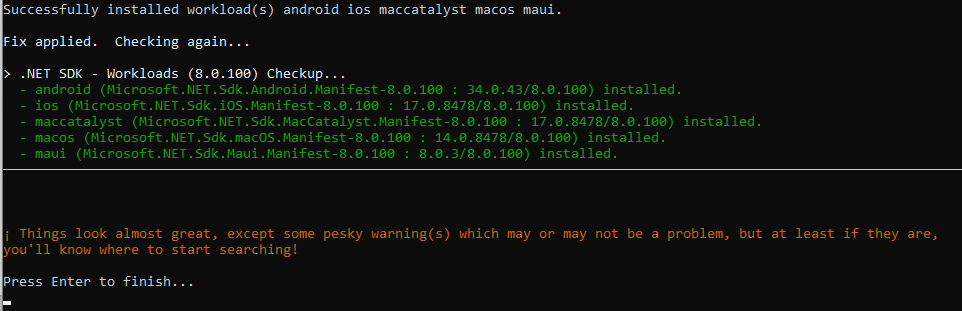
- Whenever you encounter trouble, update and run that Uno Check Tool again.
Here’s how that will look like on your machine:
Uno Platform comes with excellent documentation, a rich set of samples, their staff are (hyper)active on all developer forums, and they host a busy Discord server.
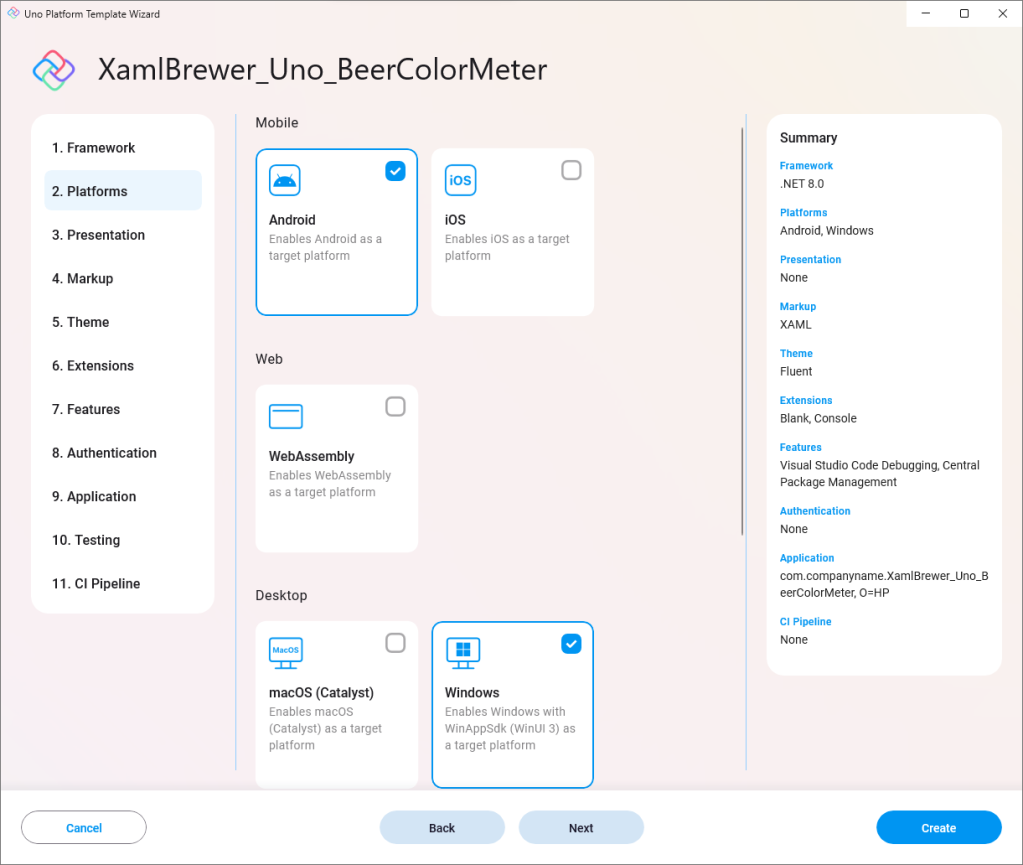
The Uno Platform Template Wizard in Visual Studio helps you to set up your project correctly. We went for a lean solution for Android and Windows – no hard feelings against Apple, we just have no hardware to test on:

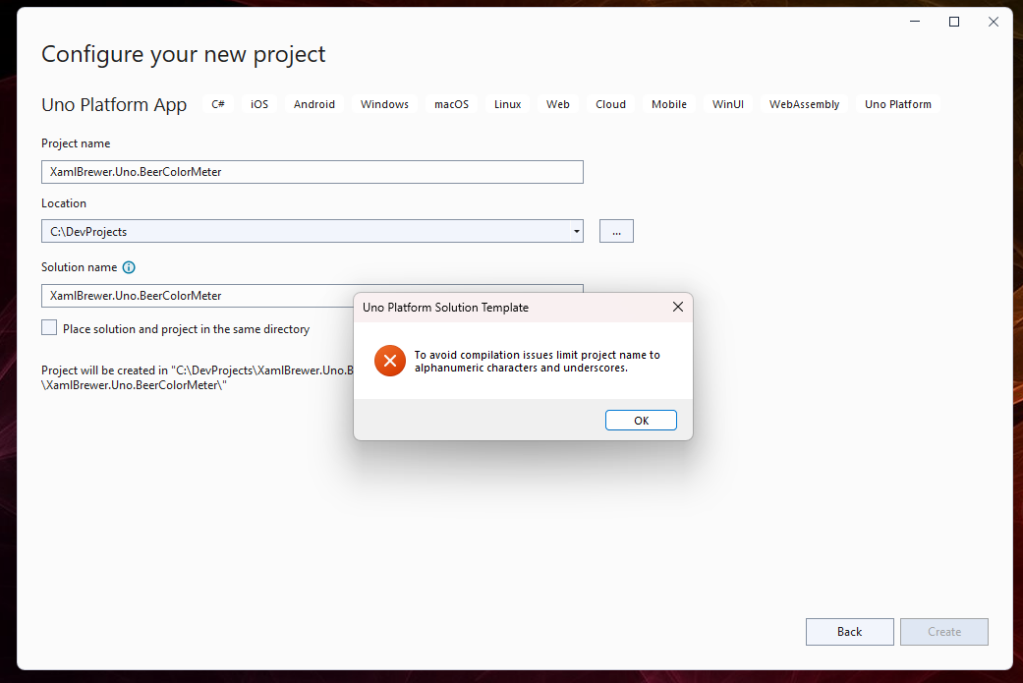
Uno Platform doesn’t like dots in the project name, so we had to break some habits. Underscores are fine though:
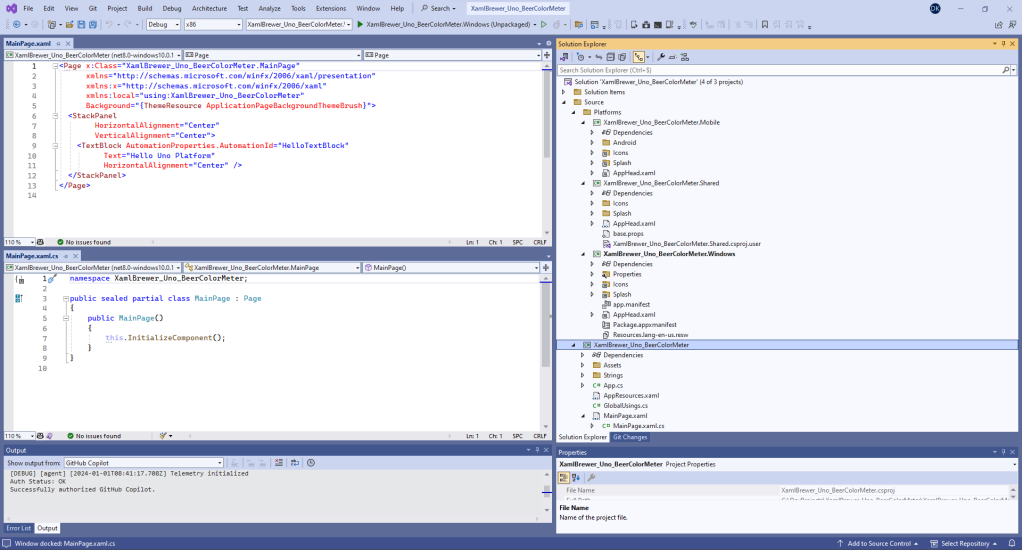
The template wizard created a solution with a main project holding the cross-platform WinUI-based code, together with three platform projects (Mobile, Windows, and Shared):
As far as we remember, we did not change anything in the platform projects – standard settings and tiles were good enough to start with.
Running your code
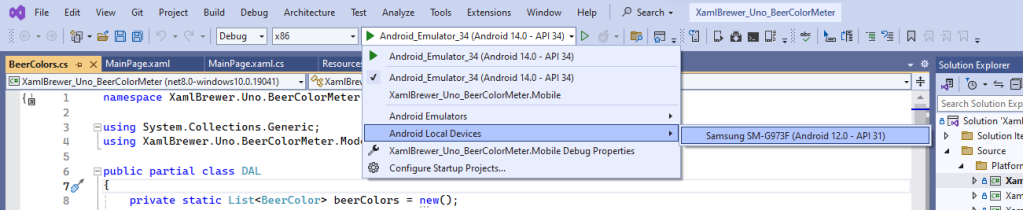
The Android Device Manager inside Visual Studio allows you to configure different virtual devices that can run your app via the Android Emulator:
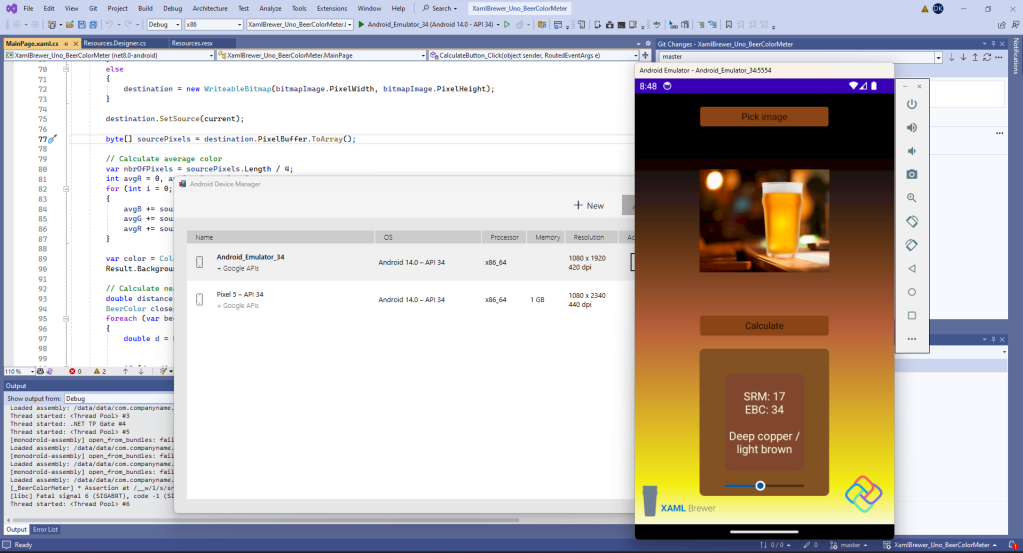
We remember from the Xamarin age that this emulator was extremely slow. Unfortunately today it still is incredibly sluggish, even on our high end development box. Anyway, the emulator allows you to test your app on different devices, resolutions, and OS versions. During development it is much more comfortable to take a real device, put it in developer mode, and hook it to your machine:
Porting the WinUI code
Unsurprisingly, we started with copying the sources from our original WinUI version into the main Uno Platform project. Then we needed to apply a few modifications. Our original project used the Windows Community Toolkit’s ImageCropper and some Windows-specific bitmap related helper classes, like BitmapDecoder and PixelDataProvider. These are not Uno Platform compatible (yet).
We pragmatically replaced the image cropper by a plain image:
<Image x:Name="FullImage"
        Source="Beer.jpg"
        VerticalAlignment="Stretch"
        HorizontalAlignment="Stretch"
        Grid.Row="1"
        Grid.Column="1" />
Since there’s no user action on the image anymore, we could have removed the ‘Calculate’ button and immediately show the result after opening an image. But we wanted to stay as close as possible to our original concept. The button is still there.
The code to pick an image is almost identical to the original one. It feels odd that in WinUI you need to fetch a Window handle just to use a FileOpenPicker – even when your main target is Android:
private async Task PickImage()
{
    // Create a file picker
    var openPicker = new FileOpenPicker();
    var hWnd = WinRT.Interop.WindowNative.GetWindowHandle((Application.Current as App).MainWindow);
    WinRT.Interop.InitializeWithWindow.Initialize(openPicker, hWnd);

    // Set options
    openPicker.ViewMode = PickerViewMode.Thumbnail;
    openPicker.SuggestedStartLocation = PickerLocationId.PicturesLibrary;
    openPicker.FileTypeFilter.Add(".bmp");
    openPicker.FileTypeFilter.Add(".jpg");
    openPicker.FileTypeFilter.Add(".jpeg");
    openPicker.FileTypeFilter.Add(".png");

    // Open the picker
    var file = await openPicker.PickSingleFileAsync();
    await OpenFile(file);
}
Accessing image pixels
Our original WinUI app had no problem accessing the pixels of the selected image: they were handed by the image cropper control. In this new version of the app we have to get to these pixels ourselves, and that was quite a challenge. The only class we discovered that exposes its pixels is WriteableBitmap. Unfortunately there’s no way to transform an existing Source of an Image, or a BitmapImage, or a RenderTargetBitmap (and we tried many more candidates) into a WriteableBitmap in a way that is supported by Uno Platform.
Our Plan B was to rely on some SkiaSharp magic, but that plan wasn’t needed. We found a work-around. After the Source of an Image control is assigned, the pixels are locked. We decided to intercept these pixels before handing them to the Image control. When the user opens an image file, we cache its content in a IRandomAccessStream before populating the image:
IRandomAccessStream? current;

private async Task OpenFile(StorageFile file)
{
    if (file != null)
    {
        IBuffer buffer = await FileIO.ReadBufferAsync(file);
        current = buffer.AsStream().AsRandomAccessStream();
        FullImage.Source = new BitmapImage(new Uri(file.Path));
    }
}
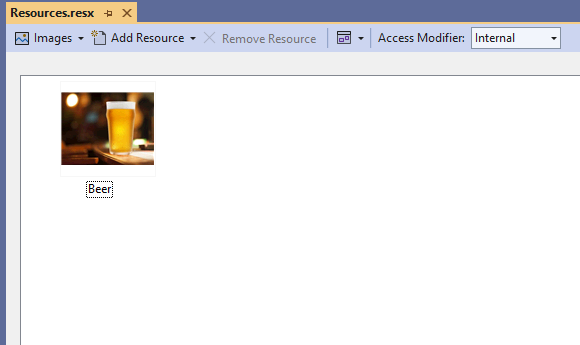
This way of working involves some memory overhead, but it does the job – except for the initial image. We did not find a way to properly read the source file of the default image (Beer.jpg) on startup or in the Calculate click event handler – probably just because we’re newbies on the Uno Platform. As an alternative we defined the image as a Resource of the byte array type:
internal class Resources {

    // ...

    internal static byte[] Beer {
        get {
            object obj = ResourceManager.GetObject("Beer", resourceCulture);
            return ((byte[])(obj));
        }
    }
}
When the user hits the Calculate button, we reconstruct the displayed image as a WriteableBitmap by creating a new instance with the same size and applying our cached Source file content, or the bytes of the default image from the Resource. The PixelBuffer returns the pixels for further processing:
WriteableBitmap destination;

current ??= Properties.Resources.Beer.AsBuffer().AsStream().AsRandomAccessStream();

current.Seek(0);
var bitmapImage = FullImage.Source as BitmapImage;
if (bitmapImage == null)
{
    // The legendary 'should not happen'
    destination = new WriteableBitmap((int)FullImage.ActualWidth, (int)FullImage.ActualHeight);
}
else
{
    destination = new WriteableBitmap(bitmapImage.PixelWidth, bitmapImage.PixelHeight);
}

destination.SetSource(current);

byte[] sourcePixels = destination.PixelBuffer.ToArray();
We didn’t need to adapt the code for iterating through the pixels and calculating the average color:
// Calculate average color
var nbrOfPixels = sourcePixels.Length / 4;
int avgR = 0, avgG = 0, avgB = 0;
for (int i = 0; i < sourcePixels.Length; i += 4)
{
    avgB += sourcePixels[i];
    avgG += sourcePixels[i + 1];
    avgR += sourcePixels[i + 2];
}

var color = Color.FromArgb(255, (byte)(avgR / nbrOfPixels), (byte)(avgG / nbrOfPixels), (byte)(avgB / nbrOfPixels));
Result.Background = new SolidColorBrush(color);
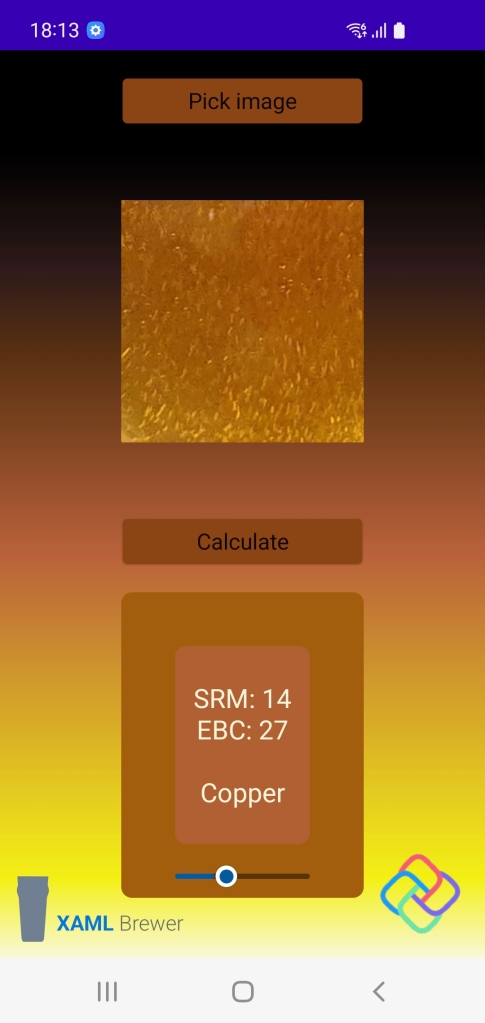
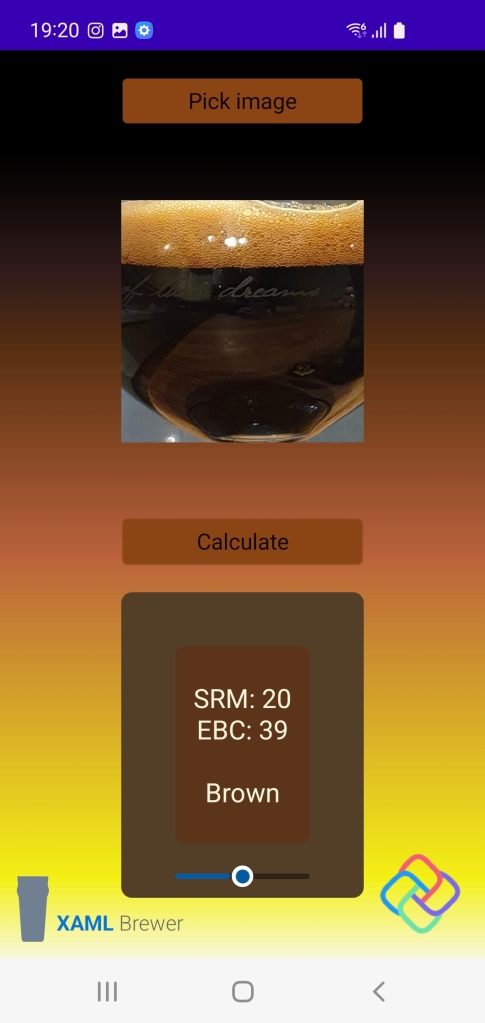
That’s a surprise because nowhere in the source code did we attempt to manage the encoding. Apparently Uno Platform internally takes care of this (👏). We provided different image types from Windows and Android and added some mono color images for reference, but they were all interpreted correctly:
Conclusion
We had much fun developing our first app for the Uno Platform. We were able to port a small but non-trivial Windows app to Android, with minimal effort. Beer Color Meter has room for improvement -especially in the user interface- but we wanted to stick as close as possible to our initial winUI project. Although some useful helpers from Windows SDK and Windows Community Toolkit are not available, we observe that our Uno Platform version has … less source code than the original one.
Our Uno Platform Beer Color Meter for Windows and Android lives here on GitHub.
Enjoy!
